Testing
Test mode is only availavble for Tamaro widgets. For Hub forms ("Touchpoint solutions") it is not possible to make test payments.
Your Tamaro Widget has two different modes - test mode and production mode:
- In test mode you can only make payments with testing payment methods, which means that no real money flows. You can find popular testing payment methods here for more payment methods, please refer to the respective payment service providers documentation. This way, you can reproduce your donor's complete journey, without carrying out real payments.
- In production mode, a real payment is made upon submitting the form and the chosen payment method is charged with money that will be transferred to your organisation's bank account.
When you receive your <widget-id> during the onboarding process, it is always in test mode. Once you have integrated it into your website and have tested it, we will set it to production mode for you.
You can identify if the widget is in production or test mode by looking for the blinking orange bar at the top and bottom of your widget:

You can also set a widget that is already in production mode into test mode by following one of the options outlined below.
Set test mode via console
You can set your widget into test mode anytime for you locally via the console. This way, test payments are possible. Go to the page where you have integrated your widget, open the console (right click on the website and go to 'inspect') and enter the following code:
window.rnw.tamaro.instance.config.testMode = true;
Your widget is now in test mode.
Please note that you do not have to refresh the page, because then you will have to set the test mode again.
Set test mode via URL
There is a simple trick to set your Tamaro to test mode via the URL. Just add #widgetdebug to the URL where your Tamaro widget is integrated.
Example:
https://tamaro.raisenow.com/raisenow-docs/latest/index.html#widgetdebug
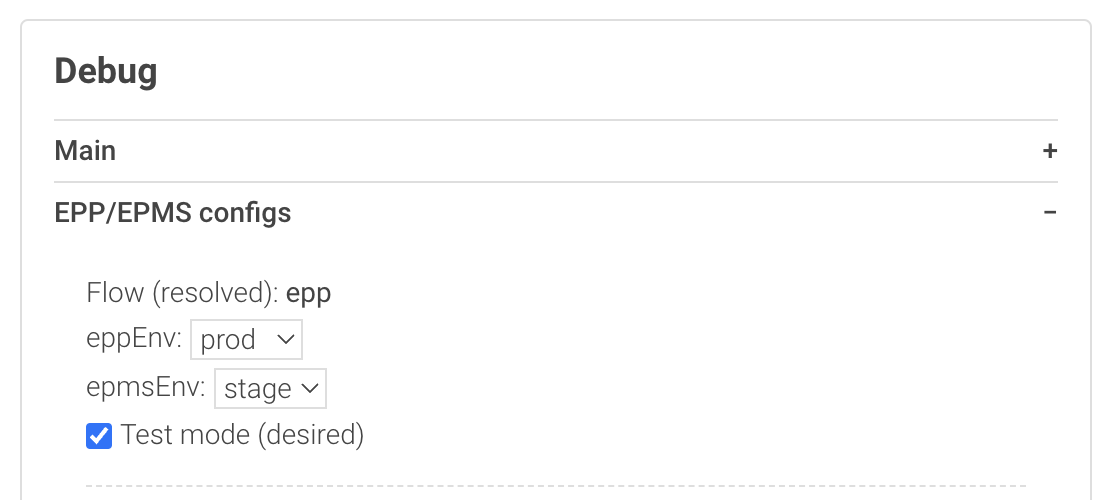
Reload the page. At the bottom of the widget, the debug console will appear. Open the “EPP/EPMS configs” menu and simply tick the “Test mode” checkbox. No other settings need to be changed. As soon as this checkbox is enabled, the widget switches to test mode and you can immediately make a test payment.
Set test mode via code
You can also set the test mode via code. This makes sense if your organisation has a permanent test page, where your widget should be in test mode permanently.
Set the following code:
window.rnw.tamaro.runWidget('.rnw-tamaro-widget', {
  testMode: true,
});
Generated test data
When using the Tamaro widget to create test payments or test subscriptions, the generated records in RaiseNow will feature a "test_mode": true on the RaiseNow API.